Have you ever been to a campsite, flung open the car doors, and unloaded groceries in a flurry? Maybe you toss a few bags on the ground, light a burner, and figure you’ll deal with the inevitable mess later. This approach to camp cooking is surprisingly common. If so, you’re not alone. But fear not, outdoor enthusiasts! This guide offers practical solutions to transform your camping kitchen from a chaotic mess to an efficient food prep haven.
We’ll cut through the fluff and provide essential gear recommendations and clever organization tips, and even explore some optional “luxury” items to elevate your outdoor culinary experience. So without further delay, let’s get started!
Ditch the Camping Kitchen Chaos
With a little planning and the right gear, you can leave those messy memories behind.
A Dedicated Camping Kitchen Kit
The key to a stress-free camp kitchen is having a designated set of equipment used exclusively for camping. This not only streamlines packing and unpacking but also ensures you have everything you need for culinary success. Here’s what your camping kitchen’s arsenal should include
- Camping Bin:Your central storage hub. Pack it with dividers and mesh bags to keep everything organized.
- Camping Table:Your prep and cooking workspace. Consider an L or U-shaped configuration for two or three tables for maximum efficiency.
- Tarp or Pop-Up Canopy:A shield against the elements, keeping your food and gear dry and cool.
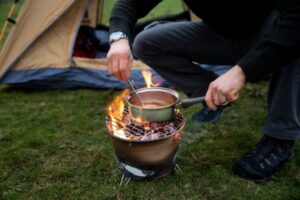
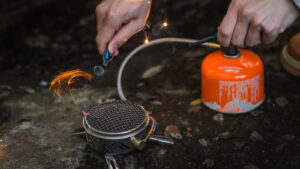
- Camping Stove/Grill:The heart of your kitchen. Choose a stove or grill that suits your cooking style and group size.
- Fuel:Don’t forget the fuel for your stove! Pack enough for the duration of your trip.
- Lighters:Always pack extras. Damp matches are no fun!
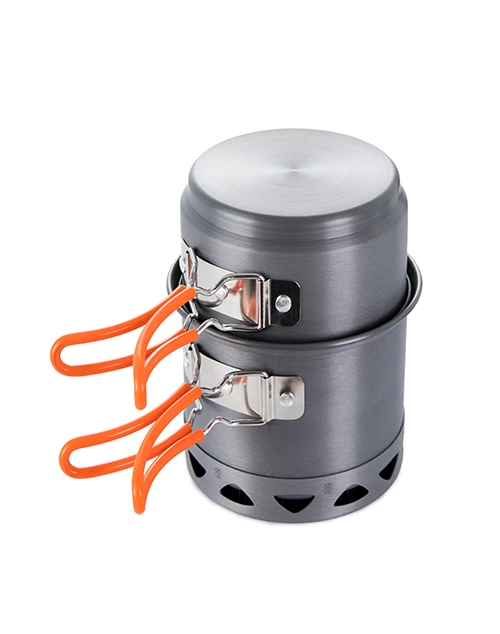
- Camping Pots and Pans:Look for lightweight, nesting cookware for easy storage.
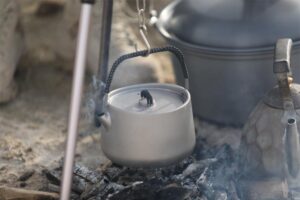
- Camping Kettle:Essential for boiling water for coffee, tea, or cooking.
- Camping Cookware Utensils:Spatulas, knives, serving spoons, can openers the essentials for culinary creation.
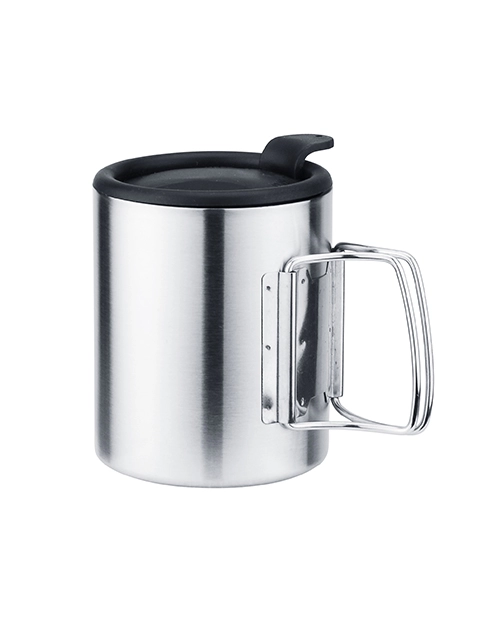
- Camping Plates, Bowls, and Eating Utensils: Lightweight and durable options are ideal.
- Water Jug and Fresh Water:A must-have for cooking, drinking, and cleaning.
- Coolers:The one for food, one for drinks. Invest in good quality coolers to keep your perishables fresh.
- Trash Bags:Pack out what you pack in! Designate separate bags for food scraps and recyclables (where applicable).
- Washing Up Supplies:A basin, dish soap, and a sponge for cleaning dishes.
- Water Bladder (Optional):If running water isn’t available, a water bladder provides a convenient way to wash hands.
- Hand Soap: Keep a bottle on hand for quick cleanups.
Luxury Options
- Camping Coffee Maker: Start your day right with a fresh pot of coffee brewed outdoors.
- Dutch Oven:Perfect for slow-cooking stews, casseroles, and delicious camp desserts. Make sure to pack oven mitts!
How to Set Up Your Camp Kitchen
Setting up your camp kitchen is an investment in time, but trust us, the payoff is delicious. Here’s how to create a functional and efficient space for culinary creativity
1. Pre-Trip Preparation
Pack your camping kitchen bin with all your designated camping cookware, utensils, plates, and condiments. Labeling everything makes finding things during camp setup a breeze.
2. Setting Up Camp
Once you arrive at your campsite, prioritize setting up your kitchen, while others pitch tents.
3. Location, Location, Location
Find a flat, sheltered area for your kitchen, ideally close to your picnic table but not too close to the campfire (think safety!). If using a tarp, ensure there are nearby trees for attachment.
4. Table Talk
Set up your camping tables. Two tables in an L-shape or three in a U-shape provide ample workspace. Position yourself so you can chat with fellow campers while cooking.
5. Shelter from the Storm
Cover your kitchen with a tarp or pop-up canopy. Ensure proper clearance for easy movement, and adjust the tarp so rainwater runs off effectively.
6. The Flow of Food: Organizing Camp Space
Organize your workspace with efficiency in mind. Here’s a winning layout:
- Chef’s Corner:plates and bowls at one end, followed by a prep zone with chopping boards, then your stove/grill.
- Condiment Central: Next to the stove, place your condiments, sauces, napkins, and cutlery.
- Camper Self-Serve:Leave space on the other side of the table for campers to grab plates and add condiments and utensils without interrupting the cooking flow.
- Under the Table Treasures:Utilize the space under your tables for storage. Bins and coolers can be tucked away but remain accessible. The cooler with food can go under the chopping board area, while the bin with utensils can reside under the stove for easy access. Keep your drinks cooler in a shaded area, away from the main traffic flow.
- The Art of Hydration: Consider a separate drinks station, especially for larger groups. Set up water, tea, coffee, and mugs on a separate table or at the end of your main table, facing a different direction to avoid congestion.
- Dishwashing Done Right: Camping may mean a relaxed approach, but dishwashing efficiency is key. Dedicate a table end for a dishwashing basin and sponge. Heat water while cooking, then use it with biodegradable soap for soaking pots and pans after dinner. Let campers wash their plates and return them to the table. This ensures a clean dish supply for the next meal.
- Bonus tip:Use leftover dishwater to douse your campfire before bed.
- Sorting It Out: Pack two trash bags, one for food scraps and another for recyclables (where available). Place them away from the eating area but near the dishwashing station for easy access. Remember to secure them at night and pack them out when you leave.
- Washing Up Without Running Water: If there’s no running water, create a handwashing station. Attach a water bladder to a nearby tree with a carabiner, allowing the spout to face downward. Lather up, then unscrew the spout for rinsing. Hand sanitizer on the table works too, in a pinch.
Camping Kitchen Storage Ideas
The key to a successful camping kitchen lies in organization. Here are some tips for keeping your gear in order
- Bins and Dividers:Invest in a sturdy camping bin with dividers and mesh bags. This allows you to categorize your gear – pots and pans in one section, utensils in another, and condiments in a third.
- Label Everything: Labeling containers and bags makes finding what you need a breeze.
- Hanging Organizers:Utilize hanging organizers for utensils, dish towels, or even small spice containers if you have a dedicated rack on your camping table.
- Collapsible Gear: Look for collapsible or nesting cookware, cutlery sets, and even water jugs to maximize space efficiency.
Camp Kitchen Essentials
Now, let’s talk about the essential components of your camping kitchen.
- Utensils:Pack a compact yet versatile set, including a spatula, tongs, a sturdy knife, a cutting board, a can opener, a whisk (for eggs or pancake batter), and a ladle.
- Cutlery:Opt for lightweight, reusable cutlery. Spork combos are space-saving and multi-functional.
- Cookware:Nesting pots and pans are ideal for camping. Consider a lightweight Dutch oven for stews and camp desserts.
- Refreshments:Pack a dedicated cooler for drinks, with enough ice to keep everything chilled throughout your trip.
- Water Filtration:If a reliable water source is unavailable, consider a portable water filtration system for safe drinking water.
FAQs
Q: What is needed for a camp kitchen?
A: A well-equipped camp kitchen should include
- A camping bin for storage.
- Camping tables for workspace.
- Tarp or pop-up canopy for shelter.
- Cooking appliance (stove or grill).
- Fuel for your cooking appliance.
- Lighters and extra lighters.
- Camping cookware (pots, pans, kettle).
- Camping utensils (spatula, knife, cutting board, etc.)
- Camping plates, bowls, and eating utensils.
- Water jug and fresh water.
- Coolers (one for food, one for drinks).
- Trash bags.
- Dishwashing supplies (basin, soap, sponge).
- Handwashing station (water bladder or hand sanitizer).
Q: What is the best cooking option for camping?
A: The best cooking option depends on your needs and preferences. Here are some popular choices
Camp Stove: Lightweight and portable, ideal for quick meals and boiling water.
Camping Grill: Perfect for grilling enthusiasts, offering an open-fire cooking experience.
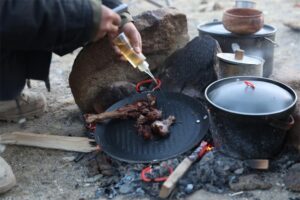
Campfire Cooking: For the adventurous camper, campfire cooking allows for unique dishes using Dutch ovens, cast iron skillets, or directly on the coals.
Q:How can I clean camping dishes without running water?
A: You can clean camping dishes without running water by using a few simple methods. First, use a paper towel or cloth to wipe off any food scraps. Then, use a small amount of water from a portable water container and a small amount of biodegradable soap to scrub the dishes. If water is very limited, you can use a combination of sand and water to clean, followed by wiping with a clean cloth. Finally, use a separate cloth or towel to dry the dishes thoroughly.
Q:What is the best way to store food in a camping cooler?
A: To keep food fresh in a camping cooler, start by pre-chilling the cooler and its contents before packing. Pack perishable items like meats and dairy on the bottom, where it’s coldest, and use ice packs or ice cubes to keep everything chilled. Separate raw meats from other foods to avoid contamination. Keep the cooler in a shaded area and minimize the time the lid is open to maintain a low temperature inside.
Q: Can I use solar power in a camping kitchen?
A: Yes, you can use solar power in a camping kitchen. Solar-powered devices such as portable stoves, lights, and chargers can be very useful. Solar panels can charge batteries or power small appliances, making them a great option for campers who want to stay off the grid. Ensure you have enough sunlight exposure and appropriate equipment for your needs to make the most out of solar energy while camping.
ODM service
Looking for reliable wholesale outdoor equipment? At Deermaple, we specialize in ODM service, offering high-quality, innovative cooking gear tailored to your needs.
If you are interested in outdoor gear wholesale, please contact us.

