How to Make a Stove Windshield?
Share:
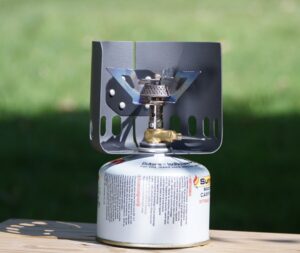
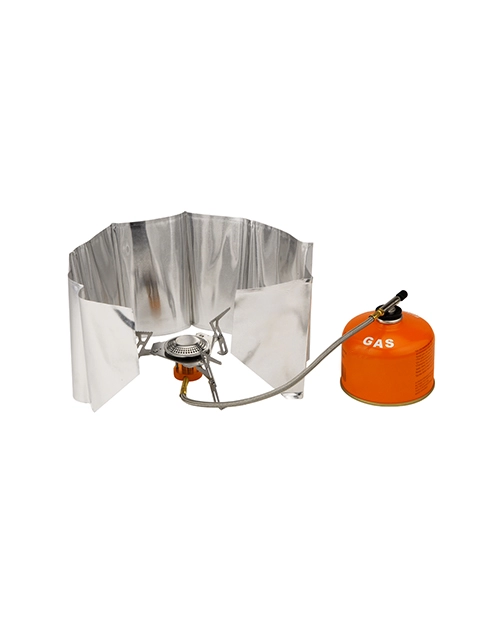
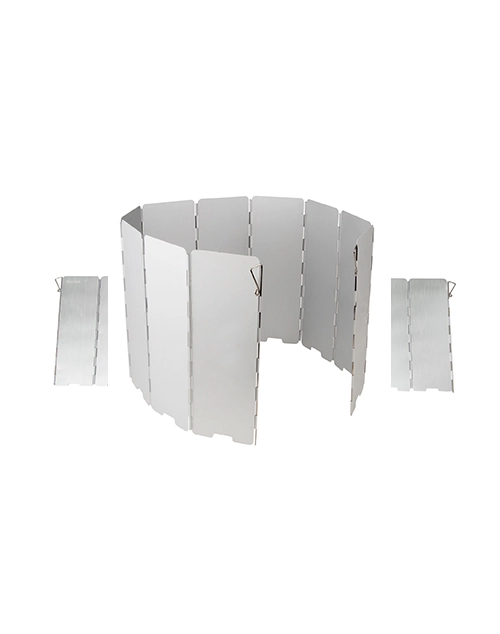
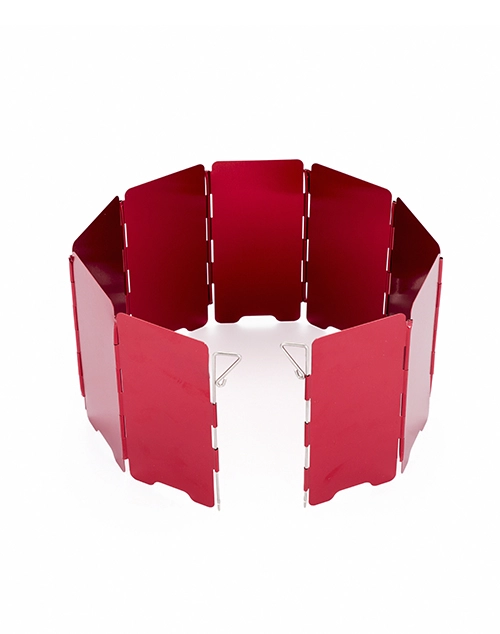
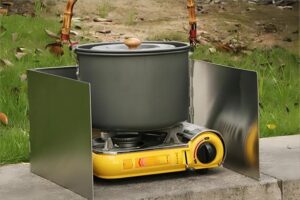 Having perfectly still wind conditions for cooking outside is an excellent method to save fuel and getting your food faster. The chances of such happening are low, especially if camped in rock overhangs or on ridges. The simple solution is to create a barrier (or hiking stove windshield) to keep the flame from being blown around.
Why Use a Windscreen with Your Backpacking Stove?
If you’ve ever tried to figure out how much gasoline to bring on a hiking trip, you know how complex it is. You must consider factors such as your stove’s fuel consumption, fuel quality, cooking time for your meal, and setup efficiency. Wind is one factor that might reduce the effectiveness of your system.
How much fuel does the wind rob you of?
Tony Bushwalking conducted a test. He discovered that without a windshield, it required more than 5 times as much gasoline (5g versus 25.4g per 80C water temperature rise). This not only wastes a lot of gasoline, but also a lot of time.
This is not the only research. According to MSR, even a 5-mph wind can make you to burn three times as much fuel. An old Backpacking Light Magazine article also discovered this.
Fuel is costly. It’s also inconvenient if you run out while on the route. So, carrying a windshield is in your best Favor. The weight of the windshield is balanced out by the amount of gasoline you save.
Are Windscreens Safe on Upright Canister Stoves?
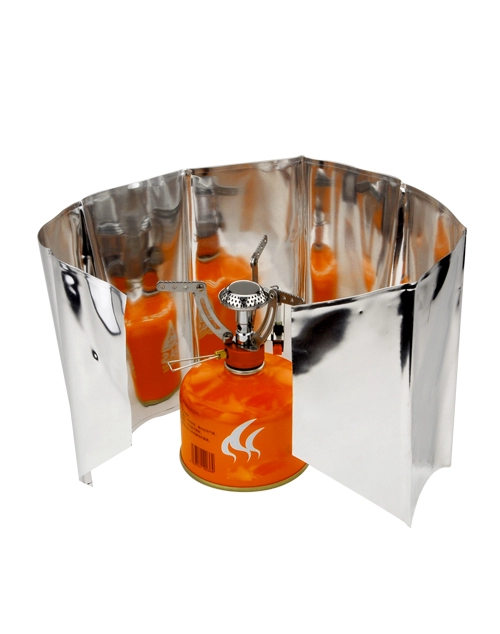
The simplest approach to building a windshield is to use a large piece of durable foil or lightweight metal. Then you wrap it around the entire stove arrangement.
This arrangement is compatible with alcohol or solid-fuel tablet stoves. It also works well with gas stoves, when the burner is separated from the canister by a hose.
However, windscreens on upright canister burners might be hazardous. It has to do with how the windshield retains heat and reflects it to the canister. The canister might become too heated and explode! This is why manufacturers recommend against using windscreens with their canister stoves. Some people still use wrap-around windscreens for upright canister stoves. The consensus is that if the canister feels “ouch hot” to the touch, it is dangerously hot. This means you must periodically touch the canister to monitor its temperature during cooking.
DIY Stove Windscreen Instructions
Here are the directions for the windshield that I ended up utilizing. While I haven’t evaluated how much time/fuel it saves me in windy circumstances, it performs an excellent job of blocking wind and increasing the efficiency of my cooking system. The idea to run cables through the existing holes in the stove originated here.
- Flatten the corners of the pie tin as much as possible.
- Cut a tiny piece off the pie pan. You must do this in order to bend the pie tin into form. My cook pot is rather large (6 inches across), so I only pulled a little slice off the pan. Begin with a tiny slice and remove more as required.
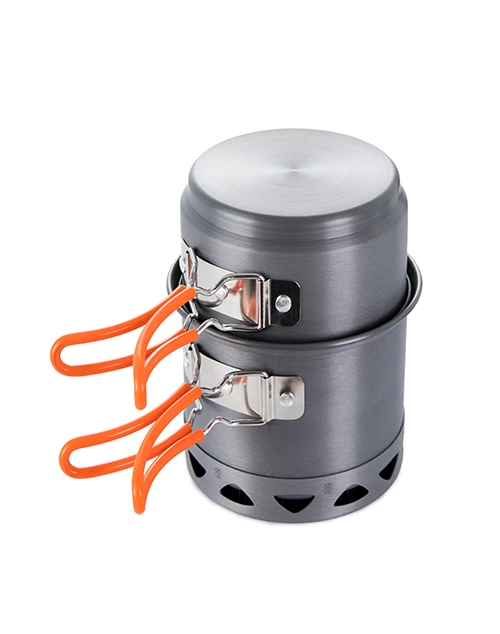
- Carefully insert the pie pan into the cook pot. This is done so that the windscreen can nest in your pot. There will be crinkling and overlaying of metal on the bottom. This is okay. Simply try to maintain the top edge of the pie tin as straight as possible. One side should not be substantially higher than the other.
- Use wire or paper clips to secure the windshield. It should now be totally circular and fairly sturdy.
- Cut a hole in the center. The hole should be designed so that your stove may fit through it (when folded). Aim to keep the hole as tiny as possible.
- Place the windshield on the stove. It will droop over a little. The next step will resolve this issue.
- Use strong wire to secure the windshield to the stove. I wasn’t explicit about this. I simply inserted the wire through one side of the windshield, through holes in two “arms” of the stove, and back out the other side. Repeat this three times. Now your windshield should be in place.
Optional: Add air holes
It appears odd to add air holes to a windscreen. However, if enough air does not reach the stove, the flame will die out. Even if the flame does not fully extinguish, it may not be burning properly. This is why the store-bought windshields have holes in them.
How can you tell whether you need air holes? The stove flame should always be blue, not orange. An orange flame indicates that the stove is not burning efficiently and is emitting carbon monoxide. It might be fatal!
Important:
Important: This DIY windshield worked effectively for me. However, always test your stuff before bringing it on a vacation! After creating your windshield, take it outside (do not use it indoors; CO poisoning is a significant concern!) on a windy day. You could even build up a fan to observe how it handles strong winds. I also placed the windshield directly in the flame for a minute to ensure that the material did not melt or catch fire.
ODM service
Looking for reliable wholesale outdoor equipment? At Deermaple, we specialize in ODM service, offering high-quality and innovative windshield tailored to your needs.
If you are interested in outdoor gear wholesale, please contact us.
Disclaimer: This blog may contain user comments, opinions, and other user-generated content. We are not responsible for the accuracy, reliability, or opinions of user-generated content. User-generated content represents the opinions of the individual authors only and does not reflect the views of this website.

