Bikepacking Stove Tips: Everything You Need To Know For Winter Camping
Share:
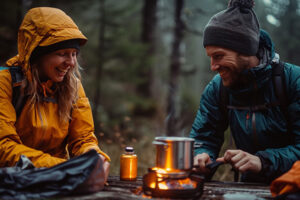
Does Bikepacking Stove Tips work well in cold weather camping? These insights are ideal whether you are an experienced or new biker and can help you pack lightly without compromising on meals’ quality or warmth.
Best advice for Bikepacking Stove Tips
The choice of stove determines everything when it comes to Bikepacking Stove Tips. Here are some common ones:
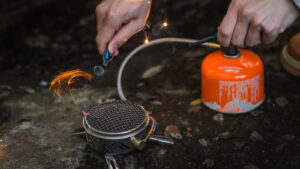
Canister Stoves
These stoves use gas canisters (propane or butane), which come pre-pressurized.
- Ease of Use: hook up, turn valve, light
- Quick Cooking: heats up fast
- Lightweight: small and not cumbersome
Alcohol Stoves
They burn denatured alcohol, which is sold in hardware stores.
- Fuel availability: readily obtainable.
- Lightweight and compact: usually ultralightness.
- Quiet Operation: No loud hissing sounds.
Liquid Fuel Stoves
The fuels that can be burned include white gas, kerosene, or gasoline.
- Versatility: can work in tough climates.
- High Performance: very good for heavy-duty cooking operations.
- Refillable: allows to carry bulk fuel for long trips.
Solid-fuel stoves
They use hexamine or trioxane fuel tablets as energy sources.
- Ultra-light: super light weightage.
- Simplicity: very simple to operate with ease.
- Compact: takes up less space in the campsite area.
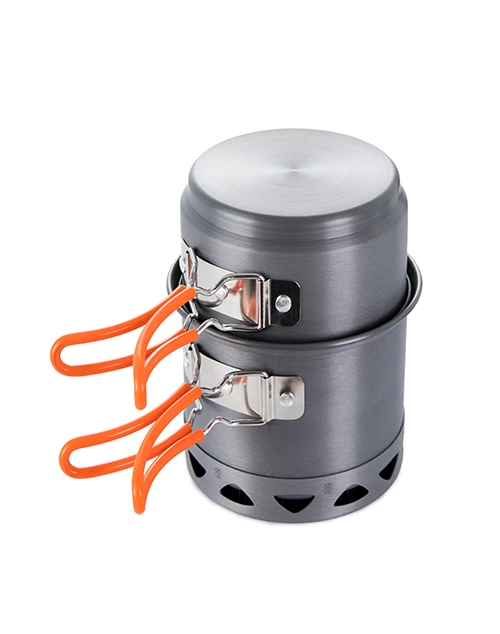
Integrated Stove Systems
Both the stove and pot that fit it come together in this type of cookware.
- Highly Efficient: consumes very low amounts of fuel.
- Wind Resistance: reduces wind effects while burning the stove inside it.
- All-in-One: no need to buy extra cooking pans and pots because they are already in the package.
Your choice of bikepacking stove will depend on what you actually want.
 How to Choose the Right Fuel Canister Size for a Bikepacking Stove
When bikepacking, it is important that you choose the right fuel canister size. Its efficiency and convenience will affect your trip. Here is a guide to help you make the best choice:
Consider Trip Duration
How many meals are you likely to prepare? For short trips (1-3 days), a small 100-gram canister may be enough. Longer trips (4+ days) may require a 230- or 450-gram canister. Slightly overestimating ensures that one doesn’t run out of fuel.
Assess cooking needs
What will you be cooking? Boiling water for simple meals requires less fuel than simmering or frying. A decently-sized canister should be used for making complex dishes.
Factors in Weather Conditions
Fuel consumption increases in cold weather. Canisters perform less efficiently at frozen temperatures. In such cases, consider larger canisters or bringing an extra one for backup.
Calculate burner efficiency
Different stoves have different rates of fuel consumption. Find out your stove’s burn rate, which is usually measured in grams per minute, and calculate the total fuel needed based on the duration of cooking.
Weight and space considerations
Canister size vs. weight must be well balanced by those who like lightweight bikepacking. Smaller cans are lighter but often necessitate carrying more than one. On the other hand, large cans are heavier but reduce spare needs.
Check Fuel Supply
Check whether fuel stations are available on route. If you have a lot of resupply possible, go for a lighter. The more times between canister refills, the bigger the size. We recommend larger canisters or extra fuel for the burners.
Best Bikepacking Stove Tips
When selecting the fuel canister size for your bikepacking stove, you must take into account trip duration, cooking time requirements, and extreme weather conditions, along with burner efficiency, weight, and replenishment points. Thoughtful planning allows you to have the right amount of fuel for a trouble-free, worthwhile journey.
 Does a bikepacking stove work well in cold weather camping?
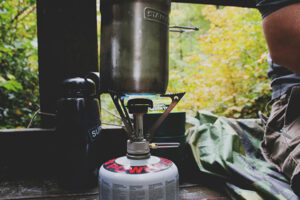
A bikepacking stove can work as long as you are in cold weather, although some stoves are better performers. Canister stoves fare badly when temperatures drop below freezing because their gas does not vaporize well, hence reducing their efficiency.
Solutions:
- Use a liquid-fuel stove: These stoves work better when it’s colder. They burn fuels like white gas and kerosene, which do well at lower temperatures.
- Keep canisters warm: Either store the canisters inside your sleeping bag during the night or keep them close to your body throughout the day.
- Wind protection: Using a windscreen will protect your stove from the cold wind. This will maintain its efficiency.
By selecting the appropriate stove and following these precautions, performance during cold weather will be enhanced.
Ultra-Lightweight Bikepacking Stove for Minimalist Setups
These stoves are small, portable, and perform effectively.
Alcohol Stoves:
Alcohol stoves are simple in construction, light in weight, and use fuel that is readily available. Ideal for weight-conscious minimalists who appreciate simplicity above all else.
Solid Fuel Stoves:
Solid-fuel stoves are extremely lightweight, so they can be carried with ease and require little space. Excellent for quickly boiling water used in preparing coffee or other beverages.
Choose small, lightweight models that can be easily packed away.
 Conclusion Bikepacking Stove Tips
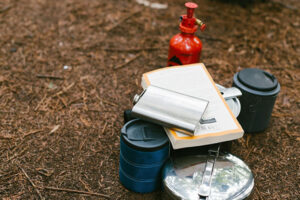
When it comes to winter camping, the right bikepacking stove can mean a huge difference. Think about fuel canister sizes to efficiently manage weight and space. Keep these easy hacks at the ready and prep your stove for cold-weather camping this weekend. For minimalist setups, ultra-lightweight stoves are the best. With proper preparation, a bikepacking outing can be smooth and enjoyable.
ODM service
Looking for reliable camping stove supplier? At Deermaple, we specialize in ODM service, offering outdoor camping stoves tailored to your needs.
If you are interested in camping stove wholesale , please contact us.
Disclaimer: This blog may contain user comments, opinions, and other user-generated content. We are not responsible for the accuracy, reliability, or opinions of user-generated content. User-generated content represents the opinions of the individual authors only and does not reflect the views of this website.
clarachen
Related Posts
Related Products
No products found.

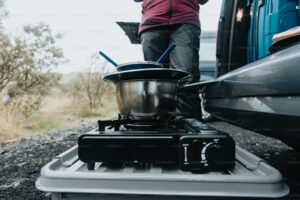 How to Choose the Right Fuel Canister Size for a Bikepacking Stove
 Does a bikepacking stove work well in cold weather camping?
  Conclusion Bikepacking Stove Tips