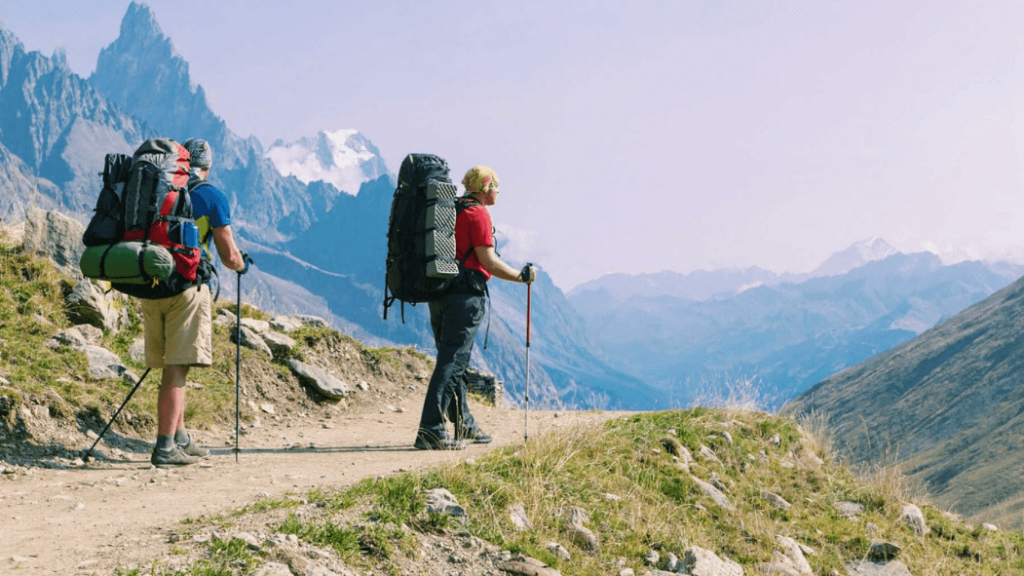
We’ll discuss how to store backpacks, lunch menus, and finally introductory backpacking necessities before getting started on our journey.
How to store backpacks?
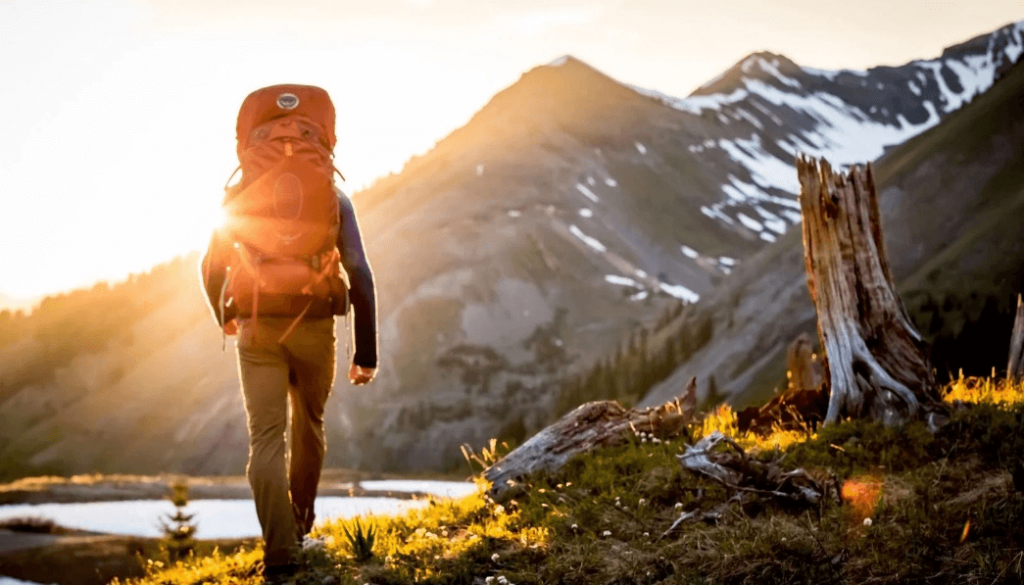
Packing consists of three zones, plus additional storage:
- Bottom zone: Useful for storing large gear and supplies that won’t be needed until camp.
- Core zone: Useful for heavier, denser materials.
- Top zone: Ideal for larger items you might require while hiking.
- Accessory pockets: Ideal for often or urgently needed supplies.
- Tool loops and lash-on points: These are useful for bulky or excessively lengthy goods.
Before setting up camp, you won’t need any bulky equipment like:
- Sleeping bag (many backpacks come with a bottom pocket big enough for one).
- Sleeping pad, especially if it can be compacted
- Any layers you want to wear to sleep in, such as long underwear
- Down boots or camp shoes
This soft, bouncy gear works as an internal shock-absorption system for your back and your pack by being packed at the bottom.
Core-of-Pack Items
During the journey don’t carry the heavy equipment listed below:
- Food stash (entrees, not snacks)
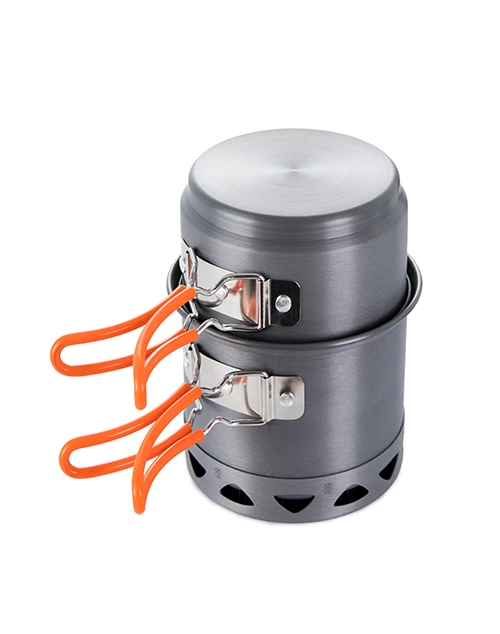
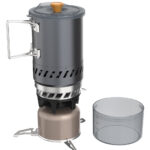
- Cook kit
- Stove
- A water container(unless you prefer to drink from bottles)
- Bear canister (filled to the capacity with food, scented stuff, and any bulky objects that might aid).
The center of gravity is stabilized and the load is directed downward rather than backward by packing heavy materials in this area. Heavy equipment that is placed either too high or too low makes a pack feel tippy.
Top-of-Pack Items
Bulky trail essentials work well here:
- Insulated jacket
- First-aid kit
- Rain jacket
- Toilet supplies
- Fleece jacket and pants
- Water filter or purifier
For quick access, if inclement weather sweeps in before they’ve set up camp, some people also choose to store their tent at the top of the bag.
Accessory Pockets
Lid pockets, front pockets, side pockets, and hip belt pockets are all features that different packs provide. Even some pockets include a large number of smaller pockets. These choices all help you in keeping track of little necessities:
- Map
- Headlamp
- Sunscreen
- Rain cover
- Compass
- GPS
- Sunglasses
- Lip balm
- Bug spray
- Snacks
- Water bottles
- ID and cash stash
Tool Loops and Lash-On Points
Among the most popular items to attach to the outside of your bag are:
- Trekking poles
- Tent poles
- Large sleeping pad
- Camp stool or chair
- Ice axe
- Crampons
- Climbing rope
Lifting a backpack by a shoulder strap is a common mistake. This not only puts unnecessary strain on your shoulder harness but also makes it challenging to drag your pack over your back while maintaining control of it.
Instead, follow these instructions to easily lift even a highly loaded bag pack on your back:
- Remove all of your straps slightly to make the pack easier to slip on.
- Position your rucksack on the ground so that it is upright.
- Stand with your legs wide apart and your knees bent next to the back panel.
- Take hold of your pack’s haul loop, which is a webbing loop located at the top of the back panel.
- Slide the pack up to your thigh and set it down; for control, keep your hand on the haul loop.
- When the padding on one shoulder strap has cradled your shoulder, insert your second arm and shoulder through the strap.
- Leaning forward, swing the load onto your back. The hand that is now holding the haul loop has to go through the other shoulder strap.
backpacking lunch ideas
If you’re going on a daylong hike, make plans for dinner, breakfast, and a few lunches. The lightest and simplest choice for meals is freeze-dried food for hiking (simply add boiling water), but it is also expensive. Instead, visit the food shop to save money. You won’t have a cooler, so you can’t offer fresh eggs or other perishable goods.
Avoid canned food since it is extremely heavy, and try to estimate your meal size precisely because too much food can add weight and bulk to your pack. However, you’ll need some additional food—enough for a second day in the wilds. For your first camping trip, keep these particular meal-planning suggestions in mind:
Dinner: Look for boxed rice or noodle dinners that are all-in-one meals. For simpler packing, meals in boxes can be taken out and put in a plastic bag.
Lunches and snacks: hiking requires a lot of metabolic energy, Carry high-calorie, high-protein energy bars, and trail mix to snack on during the day. Make lunch a trailside event with plenty of food and a longer stop to keep things easy. Bagels, jerky, dried fruit, and almonds are additional lunch alternatives for backpackers.
Breakfast: It includes hot oatmeal made from a mix, two or three breakfast bars, and prepared entrées. You have to weigh the benefits of warming up and refueling for the day versus hitting the course early. If you are unable to do so
Wildlife Precautions: Follow common sense precautions when hiking, such as maintaining a respectful distance from wildlife and being careful not to obstruct big mammals with their young. Secure any food and fragrant personal care items away from camp at night. This is frequently accomplished by packing everything into an extra stuff sack and hanging everything from a tall tree limb with some nylon cable. Even if the major worry is rats taking your food, you may still use a bear canister to protect items.
backpacking checklist for beginners
Check your items on a camping checklist before loading them into your car. Do you have the items listed below?
- Hiking boots or shoes
- Backpack
- Plenty of food
- Emergency and hygiene supplies
- Stove and fuel
- Sleeping bag and sleeping pad
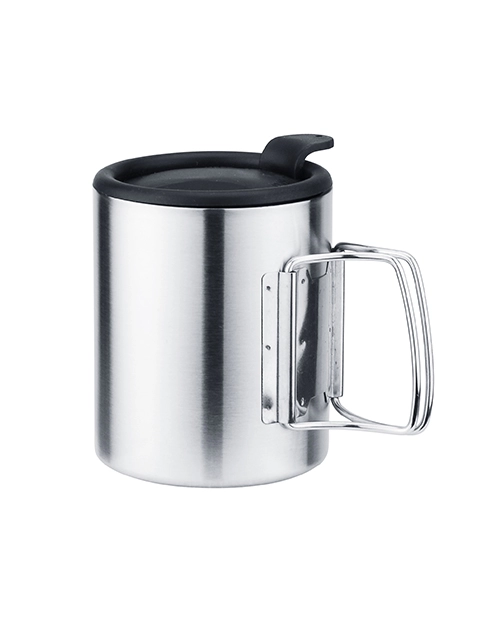
- Kitchen supplies
- Water bottles and water-treatment supplies
- Tent
- Weather-appropriate clothing
- Small repair kit
It’s simple to ignore topics that appear little but are important. Before you start playing storage Tetris in your trunk, make an extensive list and gather everything on it.
Conclusion
There you have it, folks; our guide on how to backpack during trips!
It first requires some planning and time to store your bag properly, but it’s worth the effort. Your camping gear will last longer and perform better if you take the time to unpack, dry, and store it.

